The following preparatory steps can be used if you'd like to publish / share ArcGIS Pro content to ArcGIS Online.
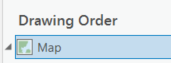
In ArcGIS Pro, go to the Content pane and right-click Map to open up the Map Properties menu.
Select Properties > General. Check the checkbox for Allow assignment of unique numeric IDs for sharing web layers. Click OK to close the Map properties menu.
If you skip this step, you’ll receive Error 00374 and won’t be able to publish your web layer or map.
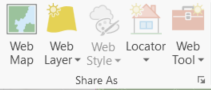
In ArcGIS Pro, go to Share > Web Map.
In the Share as Web Map pane, fill out the required title, summary, and tags fields.
Select the appropriate configuration for your web map.
Click the Analyze button to identify any potential errors or warnings for your map.
Fix any high severity errors / warnings for your map, then click Publish to publish your map and associated layers to ArcGIS Online. All of your data will be accessible through the Content menu in Brandeis ArcGIS Online.
Refer to our troubleshooting and help page if you need guidance troubleshooting any error messages.
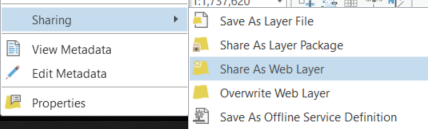
Select Sharing > Share as Web Layer to open the Share as Web Layer pane.
In the Share as Web Layer pane, go to the General tab. In the Item Details section, provide a Name, Summary, and Tags for your web layer.
Select the layer type. Click the info bubble if you want details about the different layer types. You will receive an error message if you attempt to publish data in an incompatible layer type (e.g., raster data as a feature layer).
Click Analyze to analyze your layer for any possible errors or warnings that could impact the sharing process.
Click Publish to share your web layer to your ArcGIS Online account.
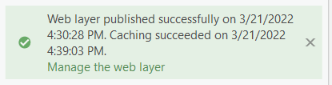
A status message will display once the publishing process is complete. The message will indicate if the publishing process successfully completed or if it failed.
The published layer is now available in the Content menu of your Brandeis ArcGIS Online account. The layer will consist of two parts: a hosted layer (either tile or feature) and a service definition file.
Tile Layer
Feature Layer
The layer can now be added to a new web map for use in ArcGIS Online, StoryMaps, etc.